Process
.jpg/:/cr=t:0%25,l:0%25,w:100%25,h:100%25/rs=w:1023,cg:true)
A while ago I was asked by my much more technical and electronic savvy friend Daniel to work on a lampshade for his space.
I lost the sketches of the initial design and math, but here is this photo of me going over them.
To summarize
- This would be built from stoneware clay because it is better and more forgiving for hand building. The other option was to wheel throw the lampshade but at the time

Screengrab from the video I sent on the update.
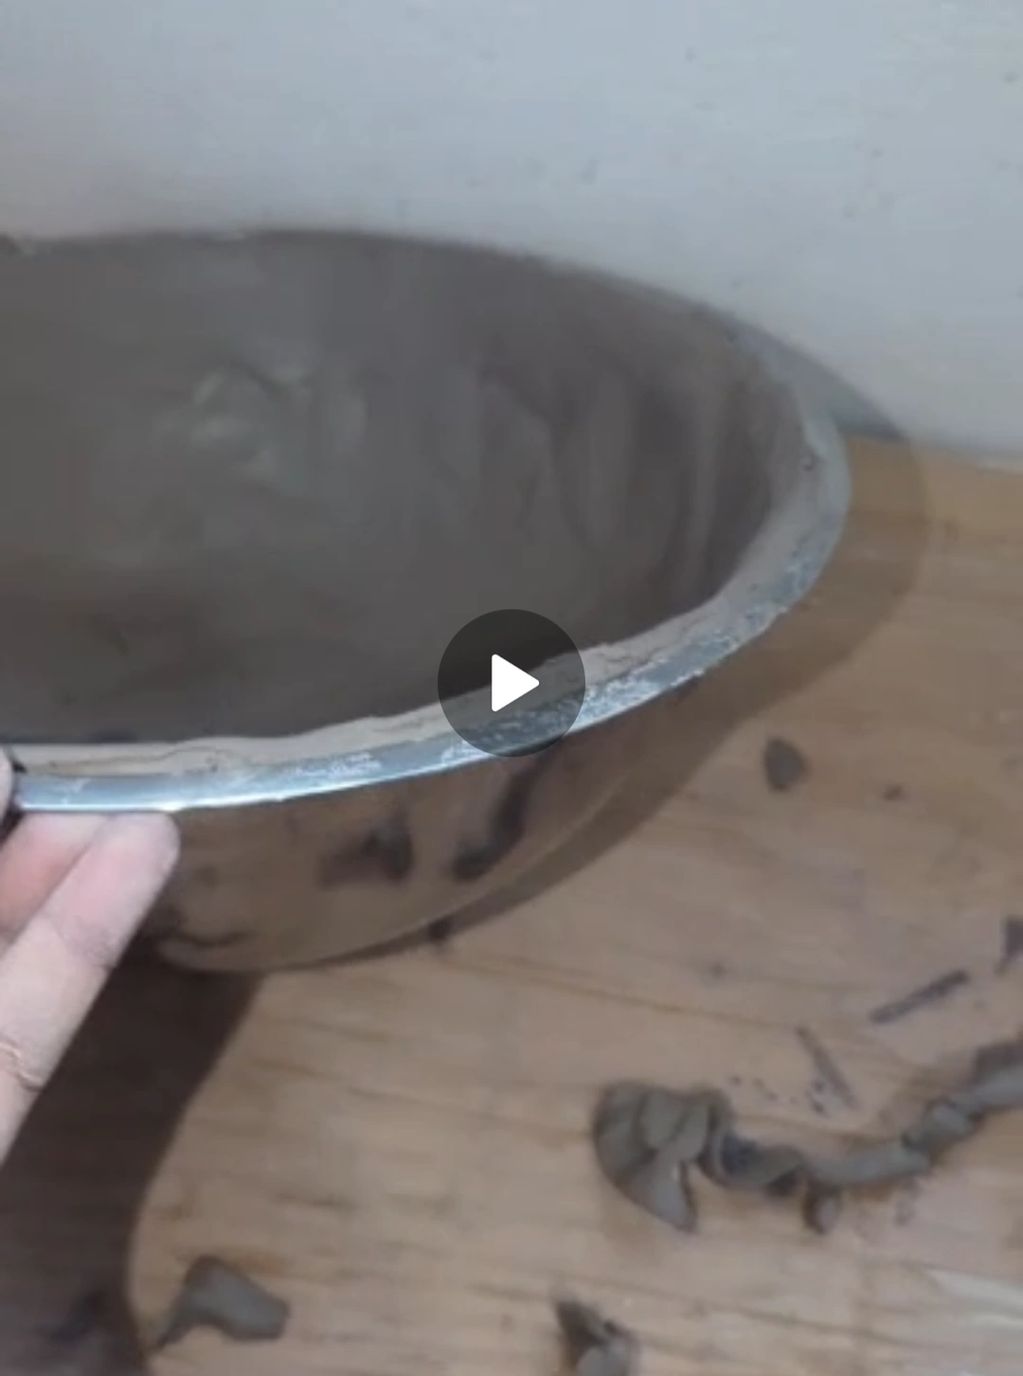
This is a picture of what NOT to do.
I learned with molding like this you put a cheesecloth first and then the clay after. I had to redo this part after my instructor kindly pointed this out.
These tutorials were actually really helpful and have me an idea of what to do as this was my first time doing slabs like this
https://www.youtube.com/watch?v

After a week of drying, this is what it looked like.
You can see the top where it is wet because I had to carve out the hole of where the bulb would go. This was difficult because it was in a fragile state and I had to go slow, but also because I had to take into account the shrinkage that I would have to account for.
Once you fire your pieces in the Kiln, depending on the type of clay, your pieces

I highly recommend finding out the percentage of shrinkage in your clay before hand (google it or find it on the box your clay came plugging) and plug it in your calculations
I highly recommend doing the math calculations before doing projects like this because it makes the process easier.
Find out the percentage of shrinkage in your clay (google it or find it on the box your clay came from) and p

The curve on the rim was a result of a piece that was chipped off. After the molding process, the clay becomes much drier and brittle so it is necessary to handle it with care. In this case, I had to work with the chip and smooth it out so it could work with the flow of the rim.

The impressions of the cheesecloth were imprinted on the clay during the molding process which I thought made for wonderful texture and design. We were happy with this but it would be nice to learn how to smooth this before the drying to prevent textures like this for a smoother surface.
This website uses cookies.
We use cookies to analyze website traffic and optimize your website experience. By accepting our use of cookies, your data will be aggregated with all other user data.